9 steps to start and create a comic book
For dedicated fans and illustrators, nothing compares to comic books. This dynamic format continues to capture our imaginations in a powerful way, from superheroes and sci-fi to humor and horror stories. With self-publishing on the rise, it’s also easier than ever to turn your creative vision into a professional-quality comic book.
So how do you get started? Creating a comic book requires skill, patience, and planning ahead, but it’s thrilling to see all the elements come together in the end.
Follow this step-by-step guide to bring your comic book project to life:
1. Choose an idea you believe in
With all the serial content being created online and in print, your creative vision is what sets you apart. Start with an idea that you strongly believe in. Starting a comic book requires a significant time commitment, so you want to make sure you have enough interest in your characters and storyline to see your project through to the finish.
The brainstorming phase looks a little different for everyone, but you can expect your original idea to evolve a bit as you’re just getting started. Be sure to keep a notebook on hand to jot down dialogue, sketches, and comic ideas when they come to mind.
2. Write the story first
As tempting as it may be to jump right in and start drawing for your comic book, try not to get ahead of yourself. You know from reading your favorite comics that creating a solid storyline is crucial. The text drives the visual action and fills in key plot details and character traits.
If your goal is to make a comic book that feels cohesive and well-designed from cover to cover, then develop your script before you start illustrating. Otherwise, you risk creating a bunch of panels that may have to be reworked or discarded if the narrative doesn’t line up with them. Beginners will realize very quickly that revising text is much easier than redrawing an entire page.
Consider the following story elements as you start writing your comic book:
- Setting: Is there a clear sense of time, place, and overall mood?
- Characters: Are the main characters fully developed and believable? Do they have distinct personalities, motivations, and challenges?
- Plot: Does the story follow a natural sequence or arc (background information, rising action, conflict, resolution)? Are there any gaps in information that might confuse readers?
- Narration: Is the point of view consistent?
- Theme: What lessons do the characters learn?
3. Research the craft of making comics
You may feel like you’ve consumed enough comics to know how to make your own. However, there is always plenty to learn from more experienced illustrators. In between your own creative work sessions, read books, interviews, and blogs by your favorite comic book creators to discover their tips and techniques. It’s also worthwhile to research essential illustration tools to help you.
For each step in this guide, you can find all kinds of in-depth tutorials and advice for artists that are new to comic book creation. Use these resources as teaching tools and inspiration whenever you find yourself getting stuck.
You can also do research from your own bookshelves. Think about what draws you to a particular comic series, and study it from a creative and technical standpoint. Notice the decisions the artist made regarding layout, drawing style, color, character, and story. Understanding which elements you find intriguing or effective in another person’s work can help you develop your own skills and style.

4. Plan the layout
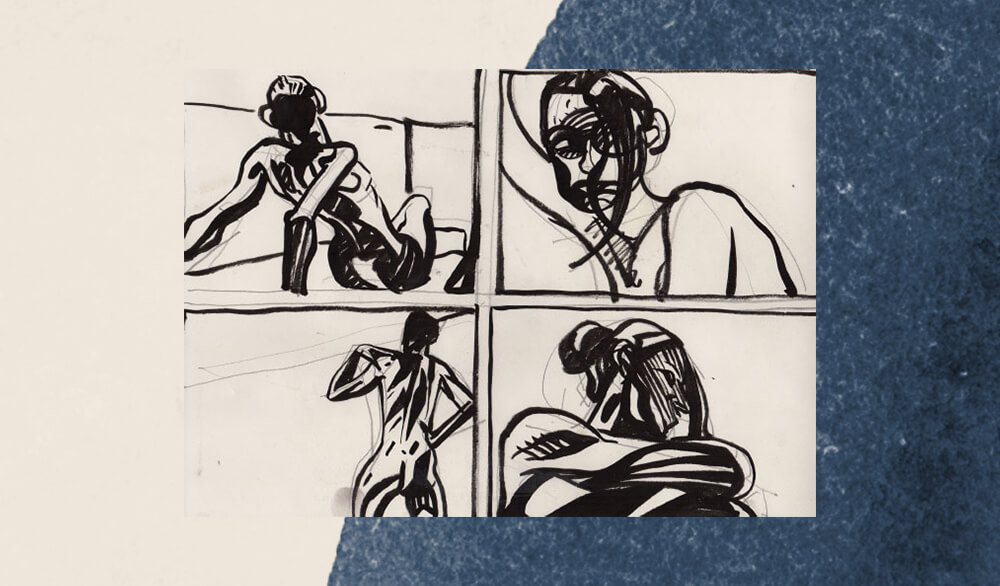
You’re almost to the actual drawing phase (promise!), but the focus here is to work out the composition of each comic book page and the overall flow. Most comic book artists use thumbnails (very rough sketches of each page layout) to see if the content works.
You want to make sure the text and illustrations fit each panel while also creating momentum in the story to keep readers interested. Does the dialog work? Is the action clear? Is there too much or not enough happening on each page? Too much text, or too little? Think about how you might create suspense at the end of a page, so the reader is compelled to keep going.
If you find problems in your first round of thumbnails, simply toss that page out and create a new sketch. This part of the creative process can involve a lot of trial and error—that’s ok! It’s always better to figure out how the story progresses before you spend time inking and coloring your comic book drawings. Otherwise, you’ll be setting yourself up for potential frustration later.
The more you draw, the better you’ll get at determining how to sequence your panels and when to make cuts. For now, if you’re just starting out in the world of comic book creation, stick to simple layouts. Leave the complicated compositions for a future project when you’ve acquired more skills.
5. Create a set of rules for drawing
One recommendation from experienced comic book artists is to establish a consistent style of illustration that is doable and efficient for the scope of your project. That could mean assigning specific textures, shading, or coloring effects to certain characters or backgrounds. Or you may decide to limit the number of frames per page. These are your personal guidelines to create visual continuity and to avoid making drawings so complex that you cannot replicate the look and feel.
For beginners, it’s especially important to know your strengths and master the drawing techniques you’ll be using before getting too far along with your comic book. You don’t want to be learning the basics or trying to draw figures you’ve never attempted before while also making your first comic. That is a recipe for slow, frustrating work sessions! Also, if you experiment too much while creating your comic, the evolution of your drawings will show in the finished version. The first few pages will look drastically different from later panels, where you’ve perfected your style.

6. Draw the illustrations
You’ve done all the pre-planning and troubleshooting, so here’s the moment you’ve been waiting for! The process of drawing will look different depending on whether you use pencil and ink, tablets, or drawing apps and software. No matter which drawing method you choose, you can find countless blogs, tutorials, and forums to answer your questions along the way.
Generally, you will follow these steps to complete your comic book illustrations:
- Drawing: If you choose to work on paper, the first step will be drawing in pencil. If you are using digital drawing tools or applications, begin by outlining your illustrations. On this first pass, try not to stress about making each drawing perfect just yet; there will be time to add all those details. Just remember to leave space for any captions or text!
- Inking: Fill in the drawings, adding texture, depth, and shading effects. (Remember the rules you set for yourself in step 5!)
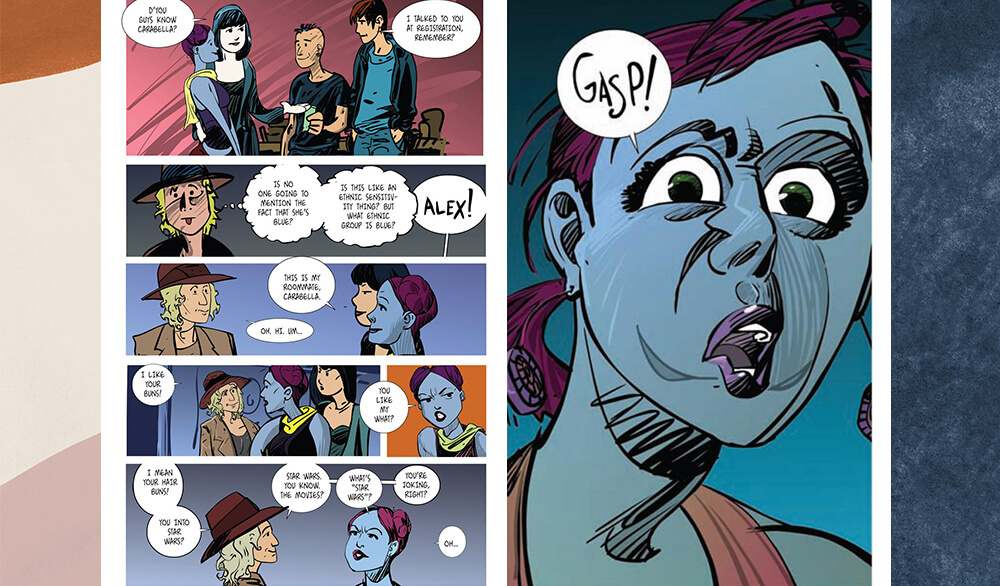
- Coloring: Select the color palette for your entire project—keep it simple. Then assign colors to each character or scene, and be sure to use the same colors every time those elements repeat. Continuity is a big part of visual storytelling!
- Lettering: Decide whether to use hand lettering or installed fonts on a digital device. Regardless, your text needs to be legible in order to make an impact. (If you want to digitally add text boxes to your layout, you’ll have a chance to do that in step 8.)
7. Choose a format
With print comics, the format you select contributes to the overall reading experience. Blurb’s Magazine format is a classic choice for comics. You get plenty of space on each page, and you can print a high volume at a low cost.
For more ideas and inspiration, check out comic book projects in the Blurb bookstore.
8. Select a bookmaking tool
Once you know your format, decide which publishing tool fits your skill level. Here’s where the pace of your comic book project really starts to pick up, and you can see the finished product within reach! When it comes to design tools, you’ve got three great options with Blurb.
Blurb PDF Uploader
If you created illustrations by hand, the fastest and simplest way to make a book is Blurb’s PDF uploader. Scan your pages and cover to create PDFs, select a trim size, and upload your PDFs to create a print-ready comic book!
Blurb BookWright (recommended)
For more creative control, use Blurb’s free desktop tool BookWright. Just drag and drop your image files (at least 300 DPI) into premade templates, or create your own comic book layout. This option also lets you add captions or text boxes to each page.
Blurb plugin for Adobe InDesign
If you have already used Adobe InDesign to create your comic book layout, use our free plug-in to set up your book. It provides trim and bleed guidelines for each book size and format.
9. Publish and order your comic book
It’s time to release your creative vision into the world! Order copies of your comic to share with family and friends, host a comic book launch event or sell your comic book online.
Now that you know how to start a comic book and self-publish it, the creative power is in your hands!
Are you ready to make a comic book? Take the first step today. Download our free desktop tool, BookWright, and set up your comic book project.


This post doesn't have any comment. Be the first one!